633 Questions & Requests

Heffo

New member
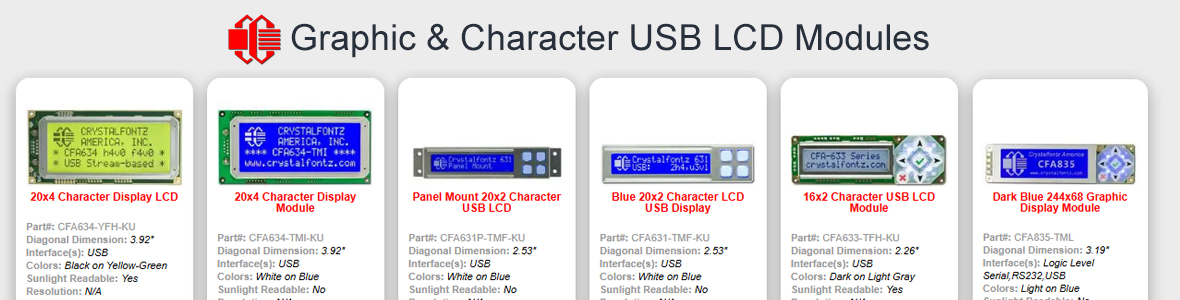
I just bought a USB 633, a very nice unit indeed.

I am wondering if it's possible to have it come on as soon as power is applied, instead of waiting for the USB to initialise (usually while windows starts), or if not, do the fan headers at least power up?

Also, I am writing my own custom software for it so would I please be able to get a complete list of the command packets sent to and from the unit. I have looked through the source for '633_WinTest' but it's rather cryptic and hard to follow.

I am also looking at connecting two DS2408 8-Bit GPIO chips to provide simple ON/OFF functionality for 16 other devices (LEDs, Neons, Fans, etc) can you see a problem controlling this DOW chip?
Looking for additional LCD resources? Check out our LCD blog for the latest developments in LCD technology.
 

CF Tech

Administrator
Everything you are talking about is possible.

I need to get some jumper settings from work, then it can wake up from the power cable instead of the USB.

Each fan's power-on setting can be controlled. You just set the fans the way you want them to be (along with the LCD, backlight & etc) then issue the "Save current state as boot state" command.

Talking to the DS2408 should be quite possible. There is an application note in the data sheet (Appendix A) for talking to an ADC, I imagine the DS2408 should be similar.

The 633_WinTest page has a couple of links to "Ultra Simple" test programs -- those are a good way to start a program.
 

CF Tech

Administrator
To make a USB 633 power up with the power supply instead of waiting for the USB to initialize:

Open JP13
Close JP8
 

Heffo

New member
It seems it's not going be so easy to set the jumpers, since I cant seem to find the two jumpers in question. I would assume though they would be in the row underneath the USB module (which is soldierd & hot-glued down) next to the RS-232 connector.

Do you have a diagram showing the location of the jumper pads?
 

CF Tech

Administrator
These are not the typical jumpers like on your motherboard. They are not really intended to be changed by the end user. They are "solder ball" jumpers--intended to configure the module at the factory. To close them, you melt a ball of solder until it bridges the gap. To open them you use solder wick to take the ball of solder off.

If you are not comfortable with soldering, you can either find someone locally that can help you, or you we can do it for you.
 

Heffo

New member
Oh, I know they are pads, and not pins, and I can find some of these pads on the PCB, just the ones in question I can't seem to find, possibly because they are underneath the USB module.

Once I am able to find them, it's easy to handle the soldiering part, I am pretty good at it.

Also the 1k pull-up resistor between the DOW +5 and IO pins, that is just a 1k ohm resistor directly between the terminals isn't it?
 

CF Tech

Administrator
The 1K on the DOW is installed by default now.

I will need to get a close photo for you of the jumpers. I do not think they are covered, but I will make sure.
 

Heffo

New member
Okay, I got the modification done, and it works well, thanks for the help.

And as a matter of intrest, what are the diffrences between the firmware & hardware revisions?
 
USB LCD Displays - Graphic and Character LCDs with a Keypad
Top